
How to Fix a Cracked Windshield at Home: A Step-by-Step Tutorial


Understanding the Importance of Windshield Repair
A cracked windshield is more than just an eyesore; it can compromise the structural integrity of your vehicle and obstruct your view while driving. Addressing these issues promptly by opting for a DIY repair can save you time and money. This tutorial will guide you through the process of fixing a cracked windshield at home.
Gathering Your Tools and Materials
Before starting, ensure you have the necessary tools and materials. You'll need a windshield repair kit, which typically includes a resin solution, applicator, and curing strips. These kits are readily available at most automotive stores. Additionally, have some paper towels and glass cleaner on hand for cleaning purposes.
Choosing the Right Repair Kit
When selecting a repair kit, consider the size and location of the crack. For small chips and cracks, a basic kit should suffice. However, for longer cracks or those near the edges of the windshield, you may need a more advanced product.
Preparing the Windshield
Before applying the repair kit, thoroughly clean the windshield to remove any dirt and debris. Use glass cleaner and paper towels to ensure the area around the crack is spotless. This step is crucial as it allows the resin to adhere properly to the glass surface.
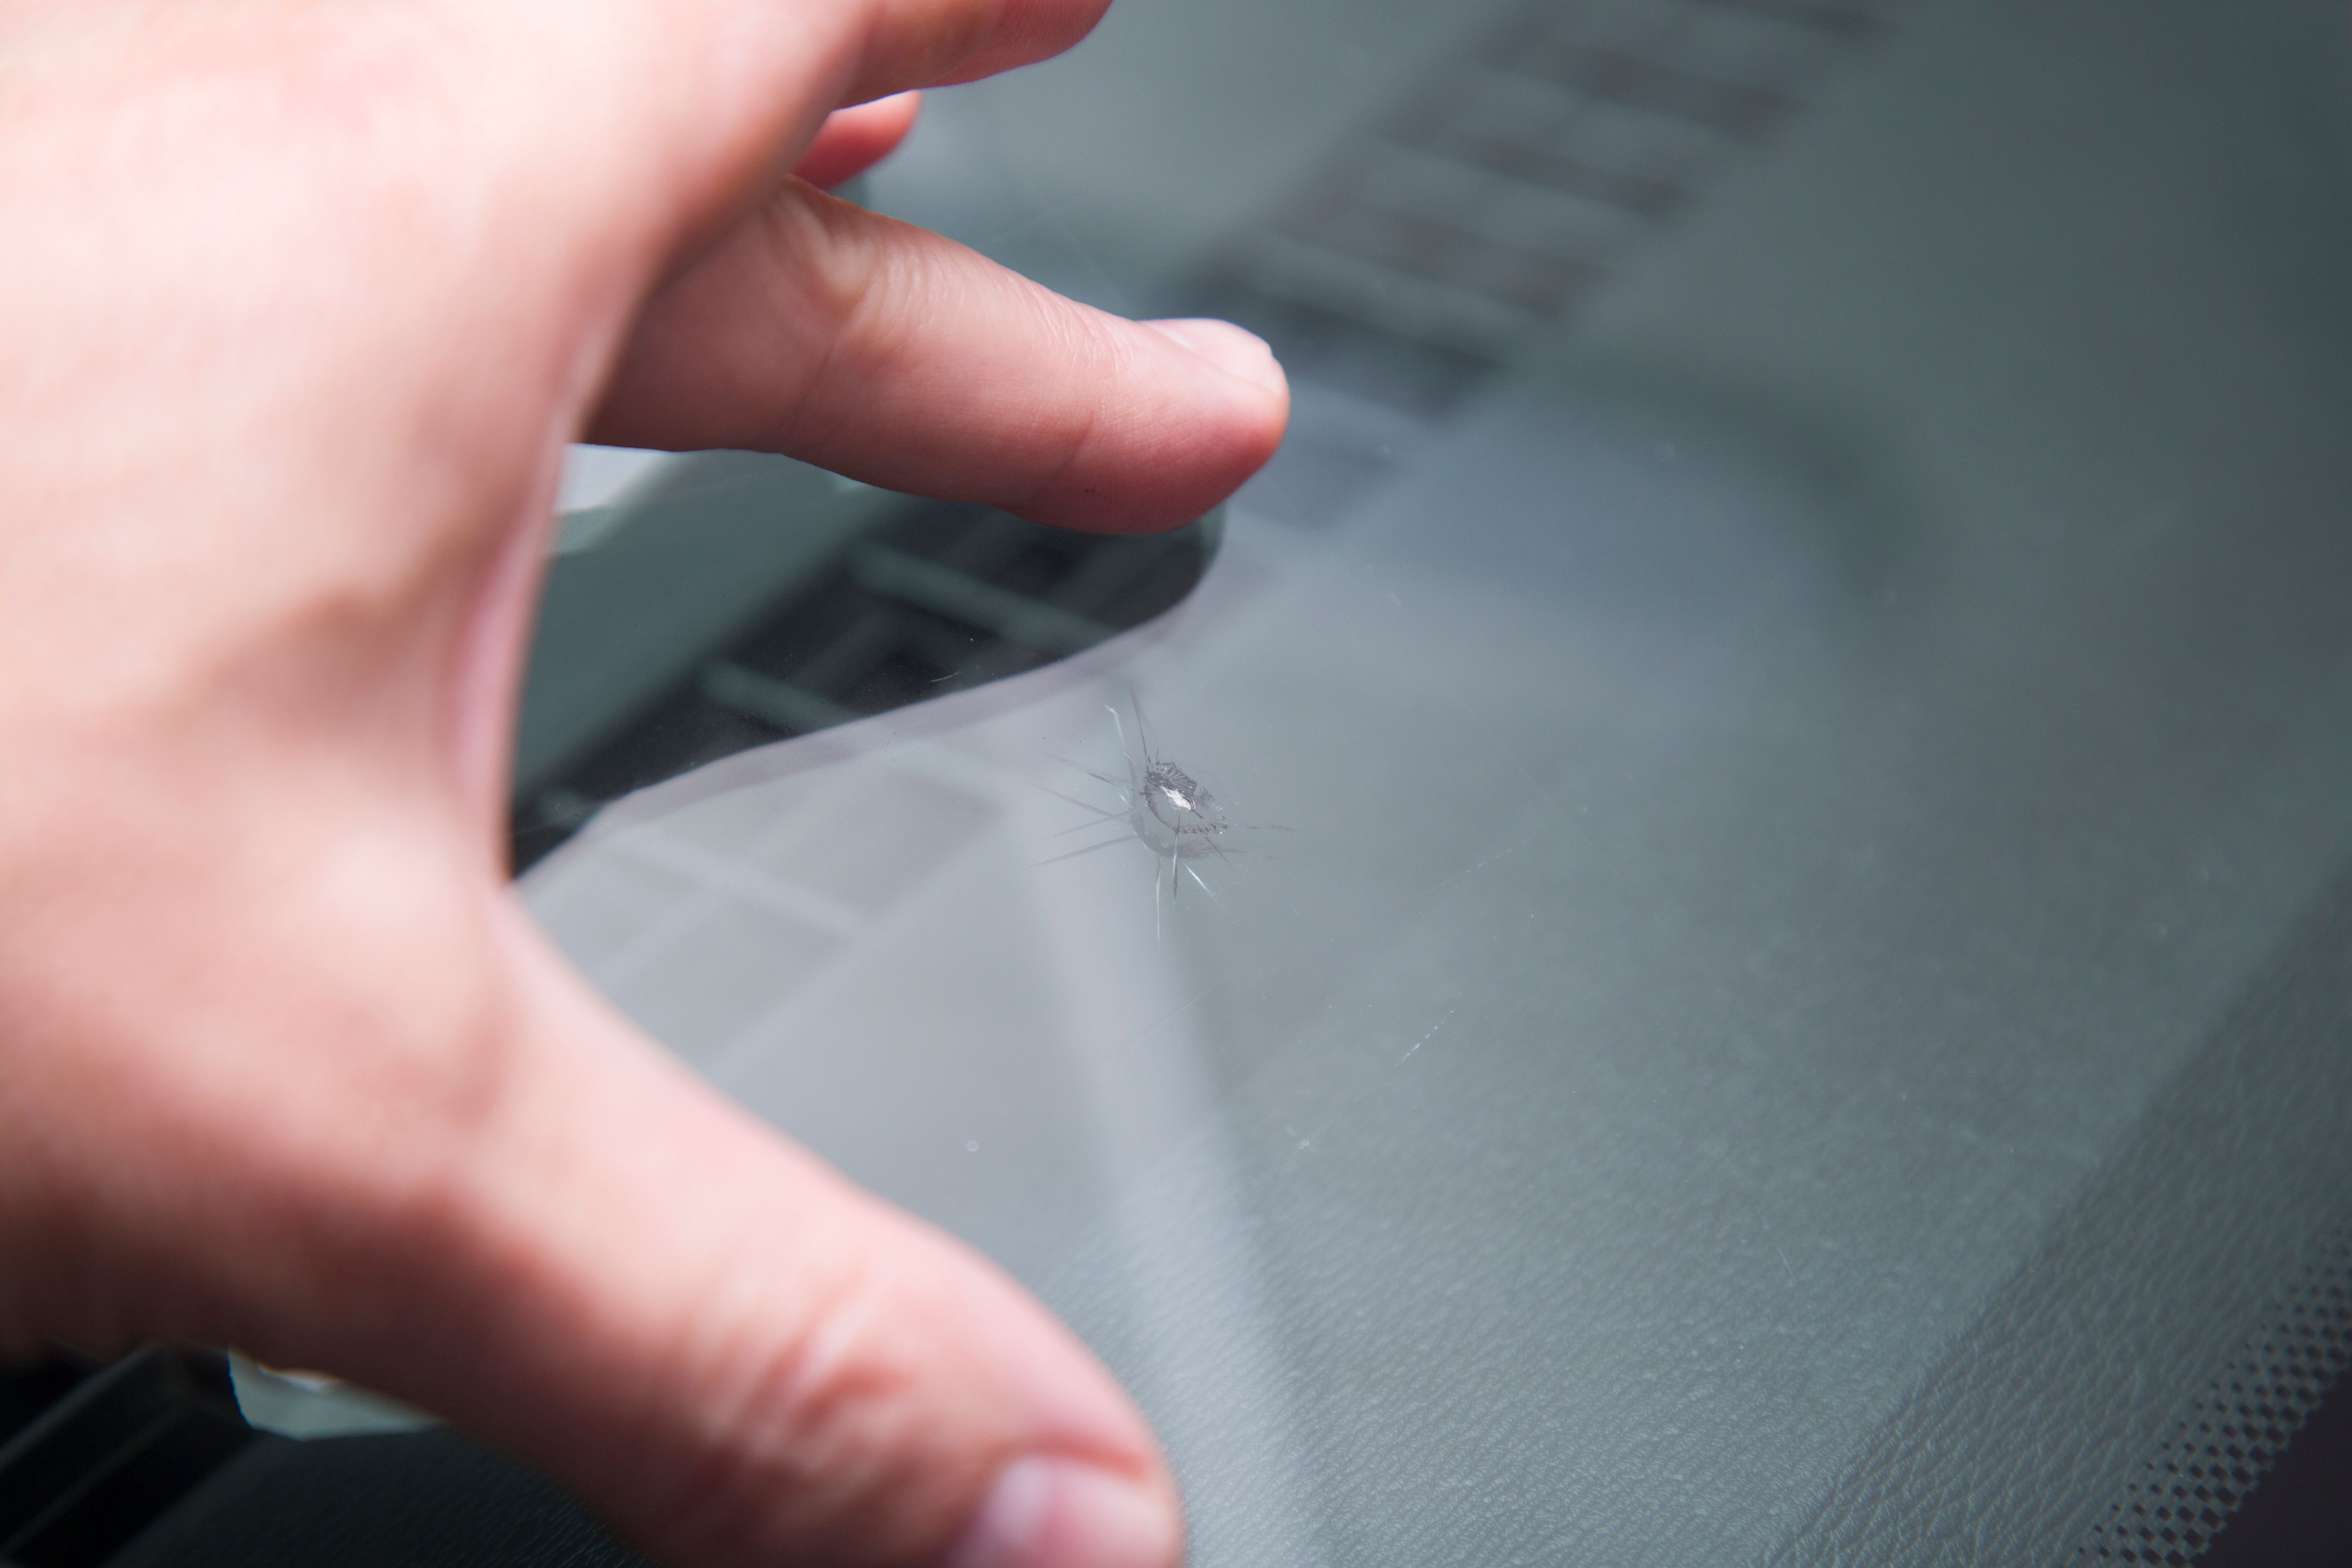
Inspecting the Crack
Assess the crack's severity. If it is longer than a dollar bill or extends to the edges of the windshield, it might be best to consult a professional. For smaller cracks, proceed with confidence that a DIY repair will be effective.
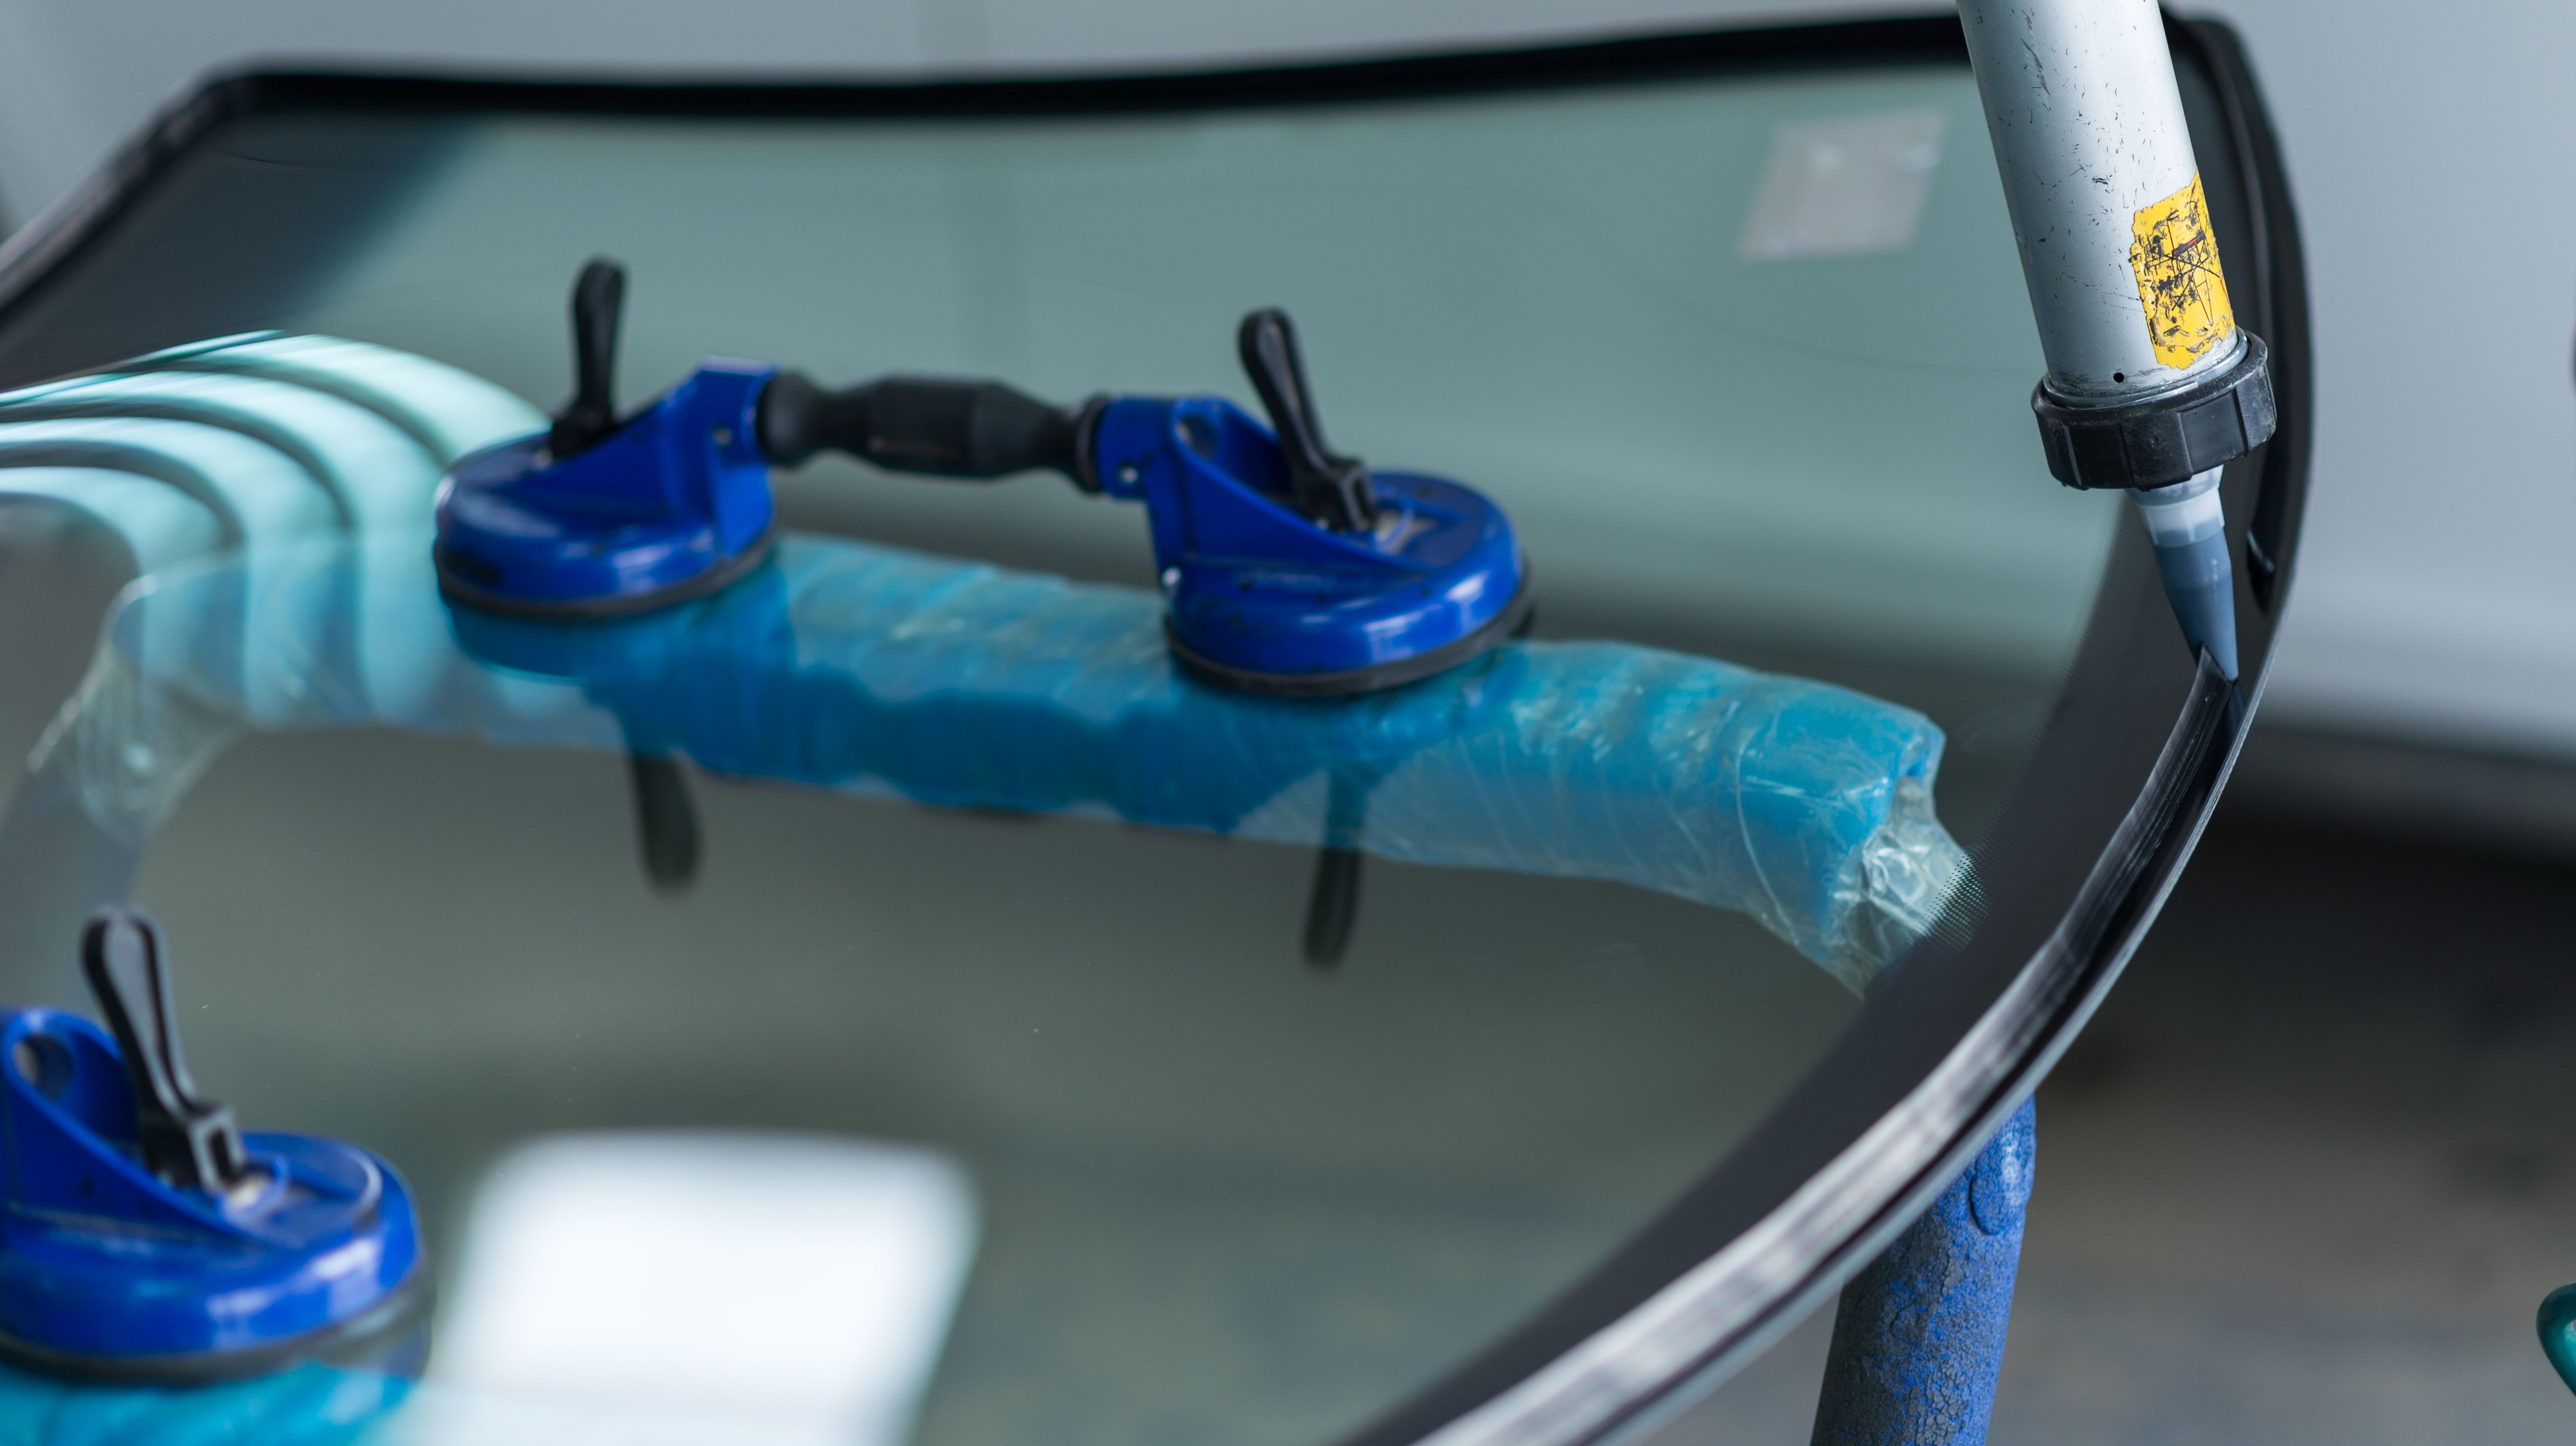
Applying the Repair Kit
Carefully follow the instructions provided with your repair kit. Typically, this involves applying the resin directly into the crack using an applicator. Ensure that the resin fills the entire crack to prevent further spreading.
Curing the Resin
After applying the resin, place a curing strip over the treated area. Allow the resin to cure under direct sunlight or use an ultraviolet lamp if available. The curing process usually takes about 30 minutes but refer to your kit's instructions for specific details.
Finishing Touches
Once cured, remove the curing strip and scrape away any excess resin with a razor blade. Polish the area with glass cleaner for a clear finish. This final step ensures that your windshield looks as good as new and that your view is unobstructed.
When to Seek Professional Help
If the crack reappears after repair or if multiple cracks are present, it may be time to seek professional assistance. While DIY repairs are effective for minor damages, professionals possess advanced tools and materials for more complex issues.