
How to Fix a Cracked Windshield at Home: A Step-by-Step Guide


Understanding the Importance of Repairing a Cracked Windshield
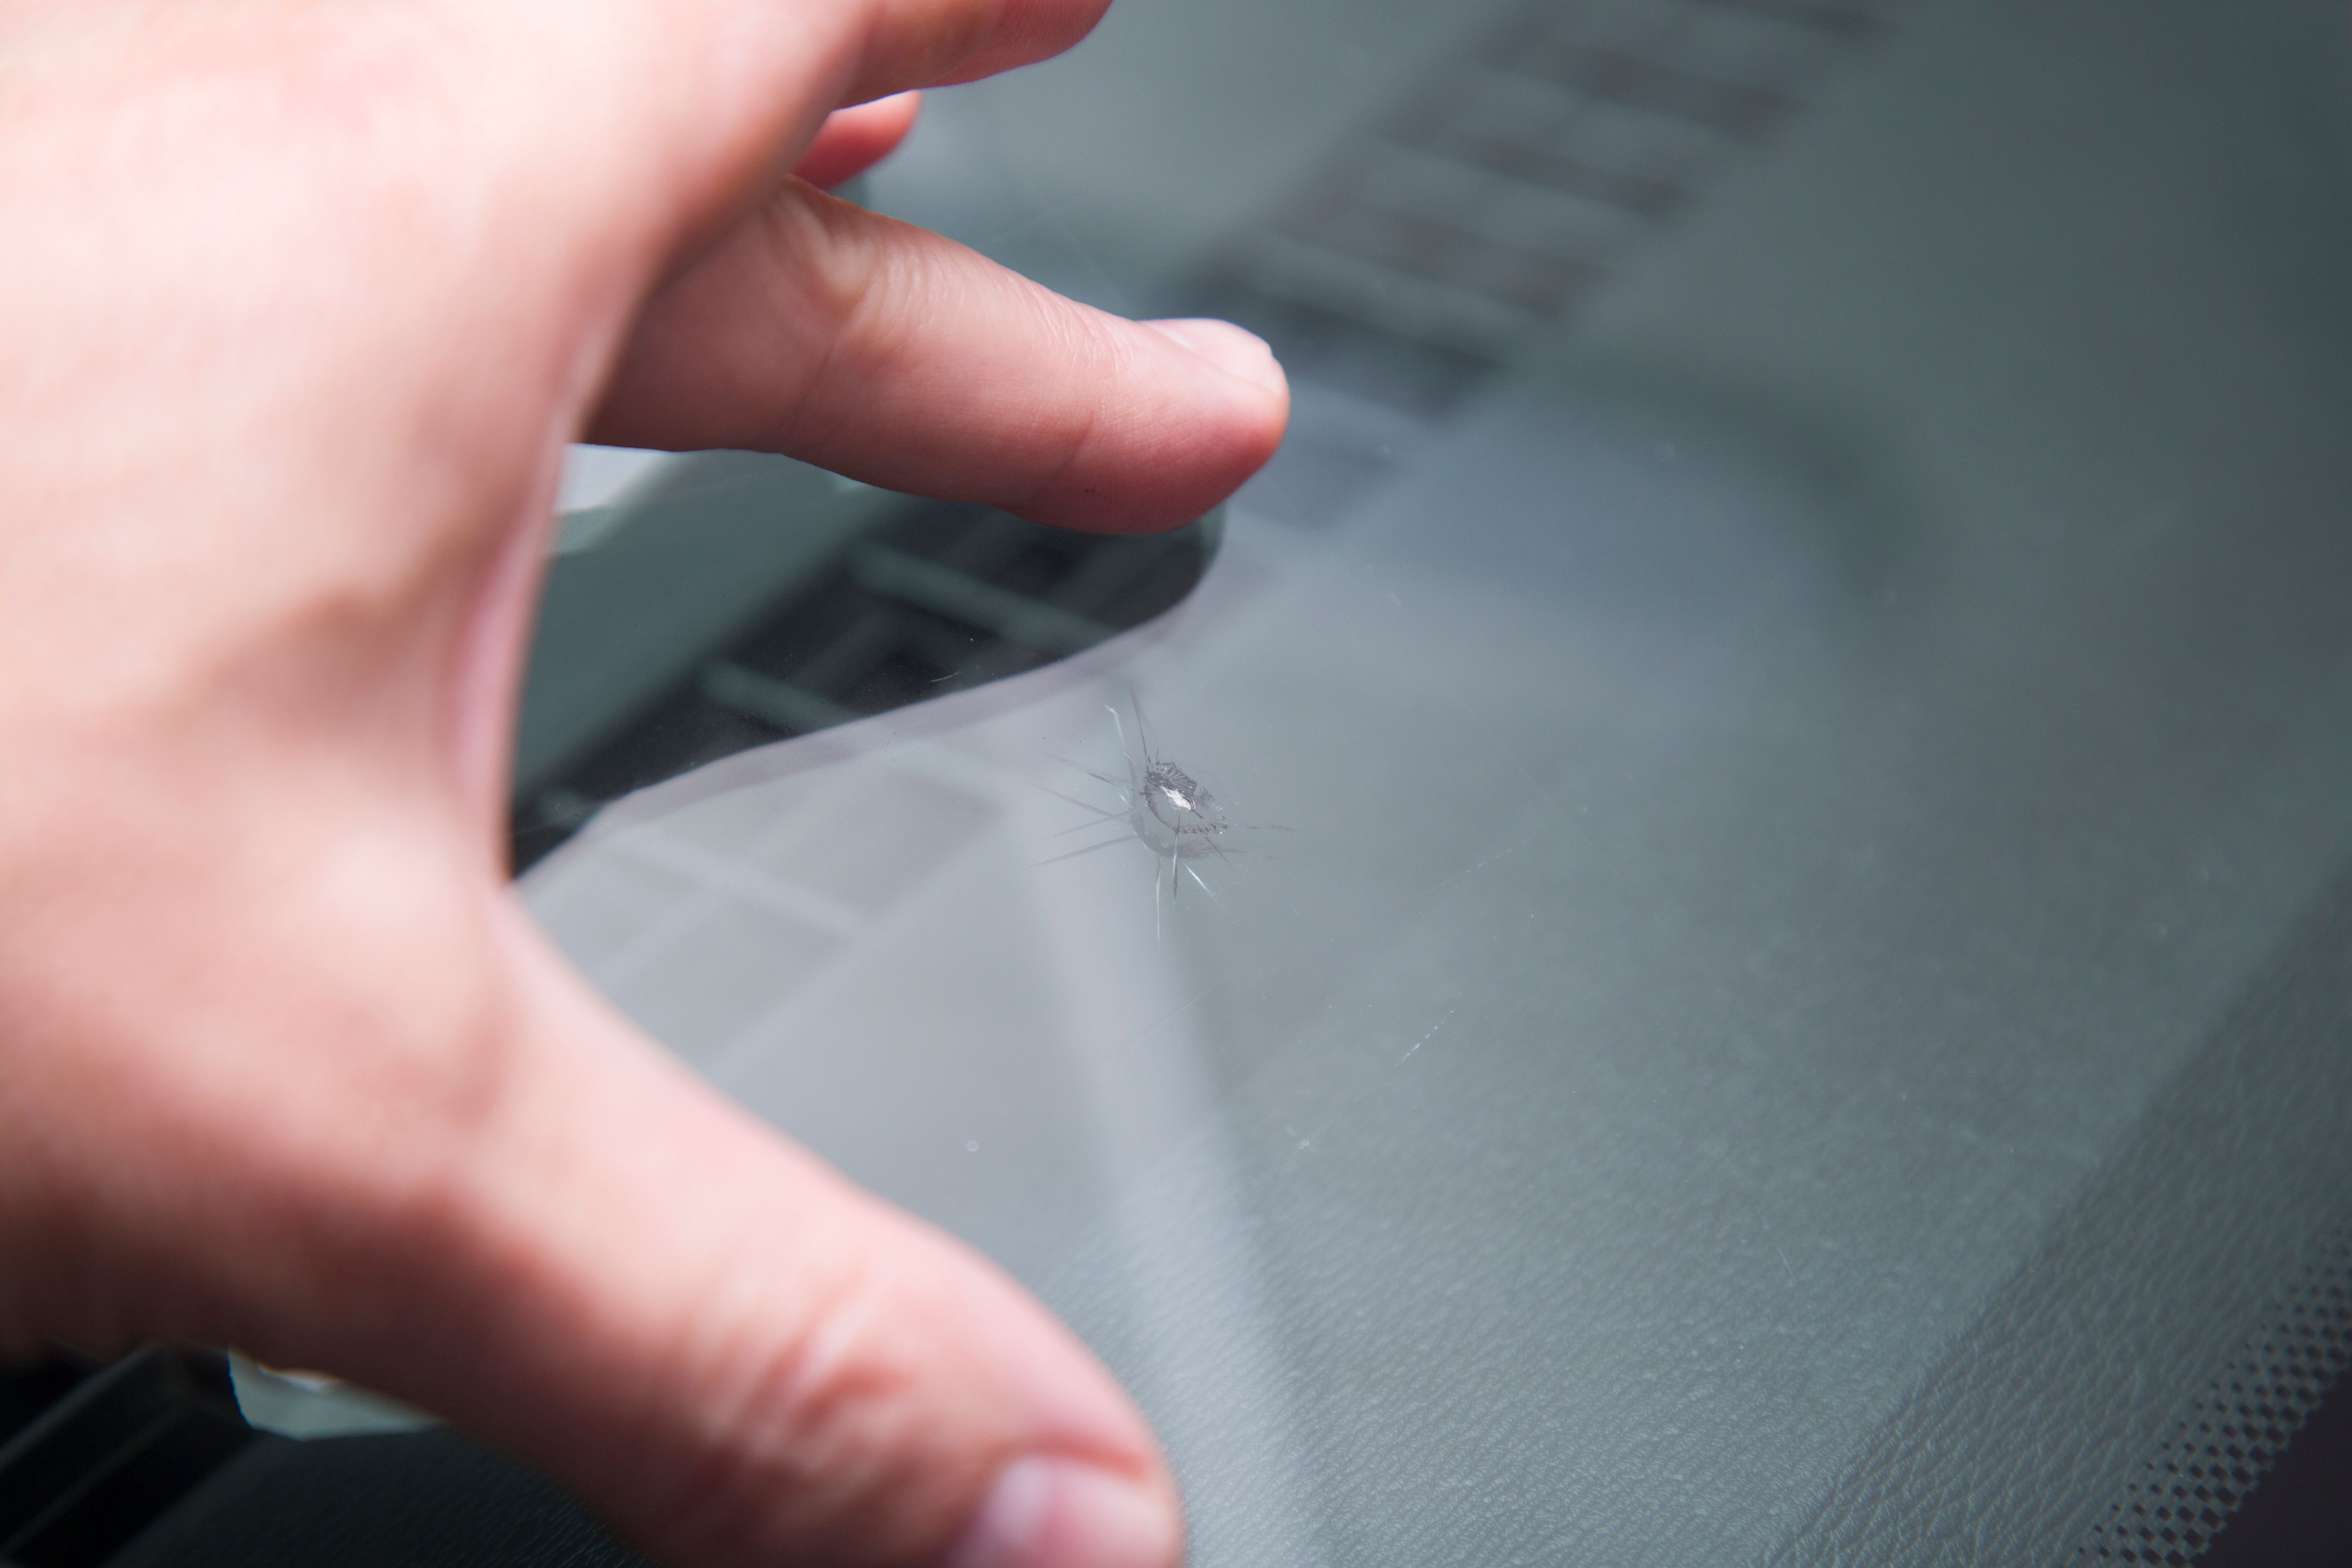
A cracked windshield is more than just a cosmetic issue; it can compromise the structural integrity of your vehicle and obstruct your view while driving. Fixing a cracked windshield at home can be a cost-effective solution if handled properly. This guide will walk you through the necessary steps to repair the damage and ensure your windshield is safe for use.
Gathering the Necessary Materials
Before you begin, ensure you have all the required materials at hand. You will need a windshield repair kit, which typically includes a resin solution, an applicator, and curing strips. Additionally, gather a clean cloth, some isopropyl alcohol, and a safety pin or needle. Having everything ready will make the process smoother and more efficient.
Components of a Windshield Repair Kit
Windshield repair kits are readily available at most automotive stores. The key components you should look for in a kit include:
- Resin Solution: This is used to fill and seal the crack.
- Applicator: Helps apply the resin evenly into the crack.
- Curing Strips: Essential for hardening the resin under sunlight or UV light.
Preparing the Windshield
Begin by cleaning the cracked area to remove any dirt or debris. Use a clean cloth dipped in isopropyl alcohol to wipe down the surface. This ensures the resin adheres properly to the glass. Once clean, allow the area to dry completely before proceeding to the next step.

Assessing the Damage
Examine the extent of the crack. If it’s longer than a dollar bill or located directly in your line of vision, it may be best to consult a professional rather than attempt a DIY repair. For smaller cracks and chips, this guide will suffice.
Applying the Resin
Follow these steps to apply the resin correctly:
- Position the Applicator: Place it directly over the crack and ensure it’s securely attached.
- Inject the Resin: Use the provided syringe or tool to inject the resin into the crack. Make sure it fills completely.
- Remove Air Bubbles: Tap gently around the crack to release any trapped air bubbles and ensure even distribution.
Curing and Finishing Touches
Once the resin is applied, cover it with a curing strip. Allow it to sit under direct sunlight or use a UV light to harden the resin. Typically, this process takes about 30 minutes to an hour. After curing, remove the strip and use a razor blade or similar tool to scrape off any excess resin, leaving a smooth finish.
Final Inspection
After completing the repair, inspect your work closely. The crack should be less visible and feel smooth to touch. If necessary, repeat the application process for deeper cracks.
Repairing a cracked windshield at home can save you both time and money while extending the life of your glass. However, always prioritize safety and know when to seek professional help if needed. With this guide, you are now equipped to tackle minor windshield repairs with confidence.